
Sealants 103
Setup for Placement of Dental Sealants
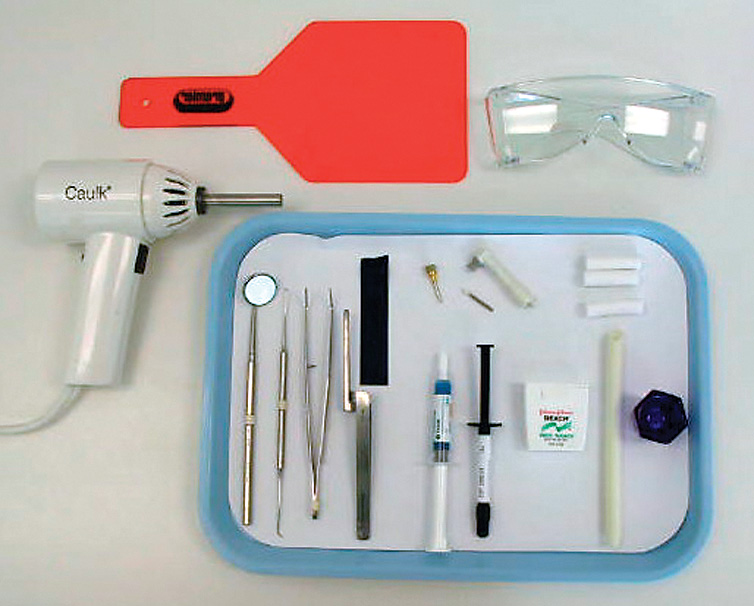
The tray contains examination instruments, articulating paper and holder, sealant material (etchant and sealant), dental floss with which to check contact areas after sealant placement, a disposable prophy angle with which to prepare the tooth, moisture-control items (cotton rolls and a high-volume evacuator), and a dappen dish to hold liquid materials such as the pumice.
Isolate and Dry the Tooth
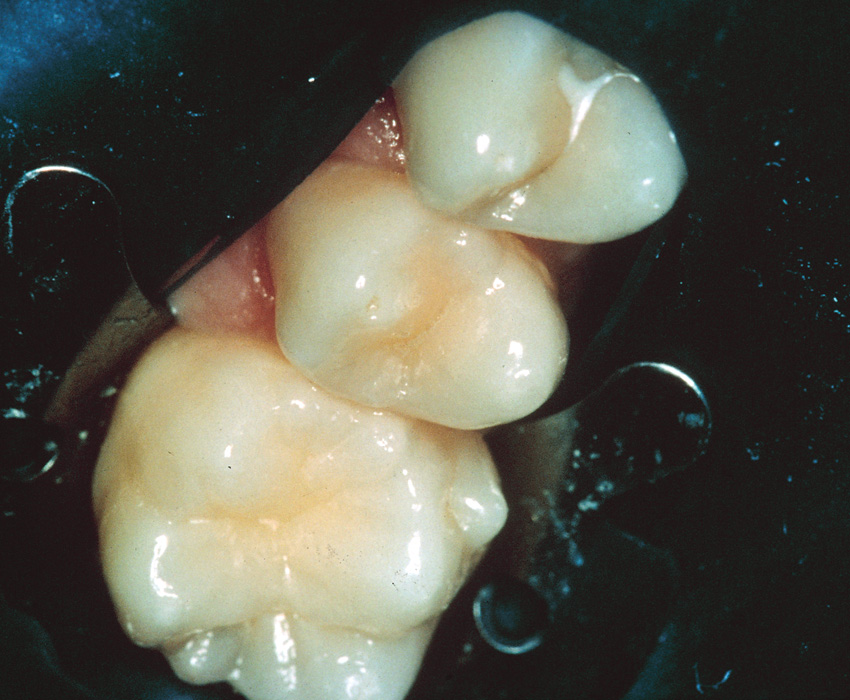
Remember, moisture contamination during sealant placement can cause the sealant to fail. What isolation technique is shown in the slide? (Use of a dental dam.)
Etch the Enamel
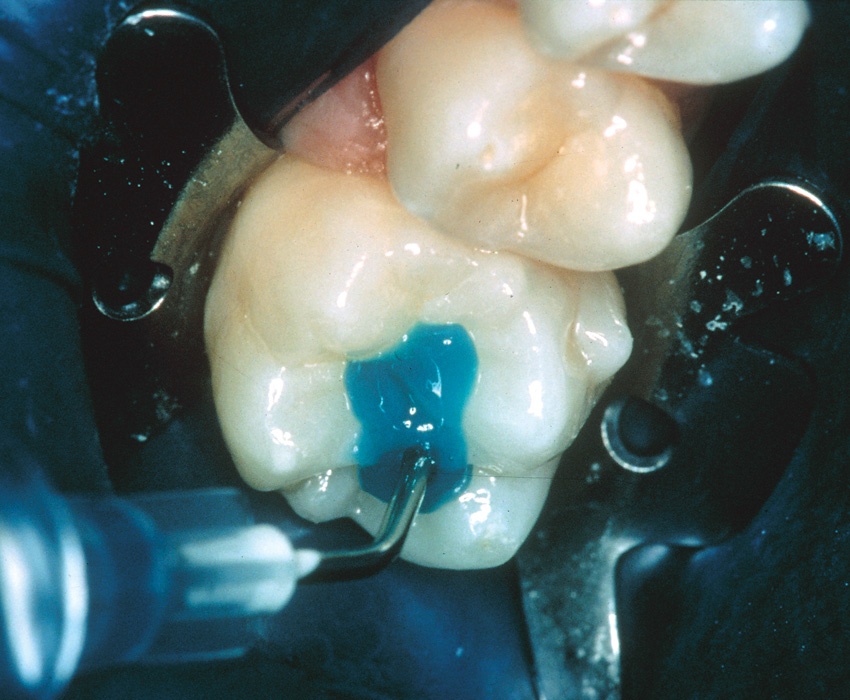
Apply a generous amount of etchant to all enamel surfaces to be sealed, extending slightly beyond the anticipated margin of the sealant.
Etchant is usually placed for a minimum of 15 seconds but no longer than 60 seconds. What is a consequence of incomplete etching of the enamel surface? (Decreased retention of the sealant.)
Thoroughly Dry the Etched Surface
After the allotted time for exposure of the enamel to the etchant, rinse the etched teeth thoroughly.
Dry the surfaces with the air/water syringe.
When the surface of the enamel is etched, the dried etched surface will take on a frosty white matte appearance.
What if the frosty white matte enamel surface is not evident? (Repeat the etch step.)
After Sealant Placement, Cure the Enamel
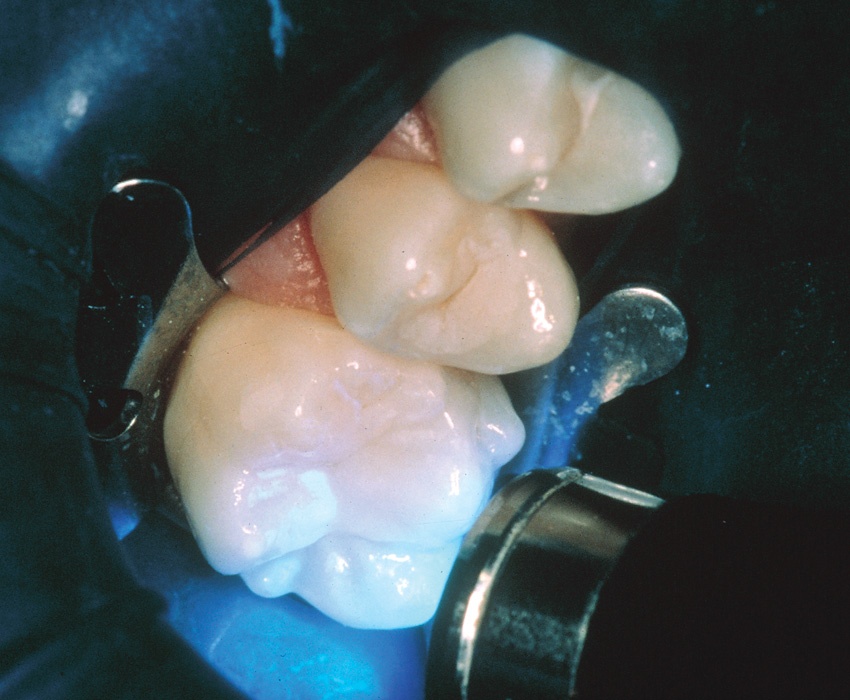
Place the sealant using the delivery method recommended by the manufacturer.
Slowly introduce the sealant material to the pits and fissures to avoid damaging the micropores and to avoid the formation of air bubbles.
Next, cure the sealant using the UV light.
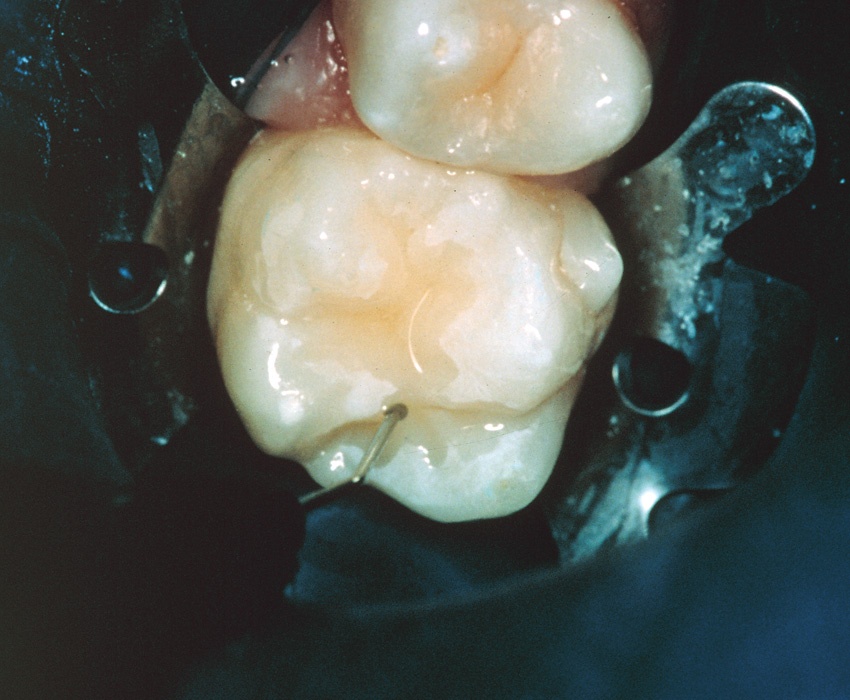
Dental Sealant is in Place, Evaluate the Sealant.
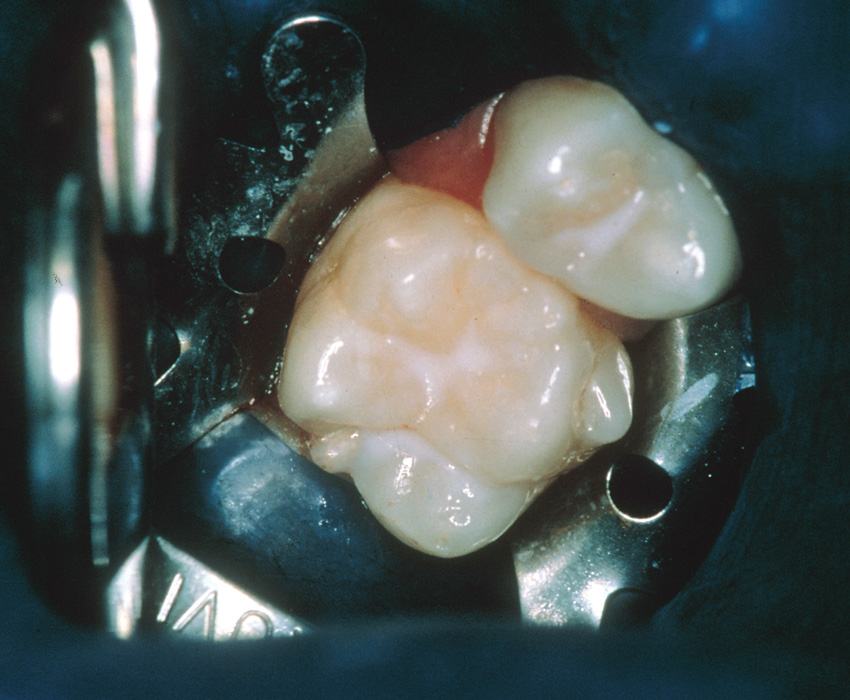
Always evaluate the sealant after placement:
Use an explorer to ensure that all margins have been sealed and that no microleakage can occur.
Floss the contacts to ensure that no excess sealant materials flowed into interproximal areas.
Check the occlusion with the use of articulating paper to ensure that the patient is comfortable when biting on the newly placed sealant.